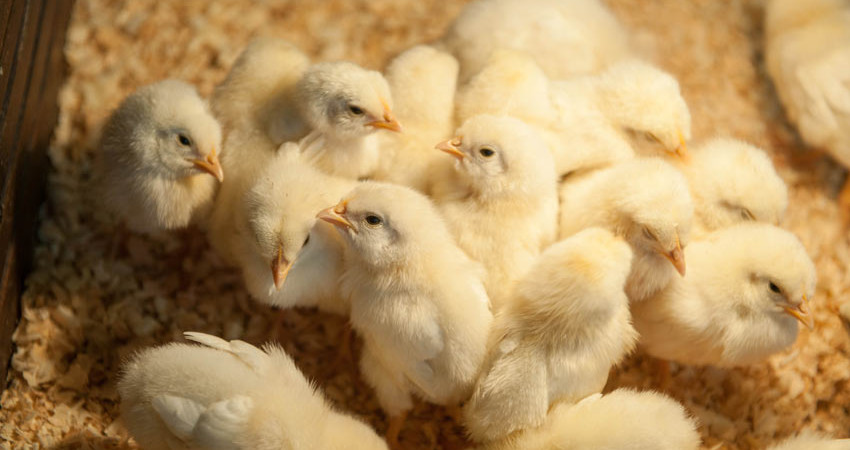

To be a successful poultry farmer, you should take note of a number of issues while you stock your poultry houses with these young chicks. Ask your self about the hatchery you are sourcing from;
1. Does the hatchery maintain a breeding flock to produce fertilised eggs for incubation or does it outsource from different farms?
2. Does the hatchery have a comprehensive history of vaccination and health management programme for the breeding flock?A reliable hatchery should be able to provide its customers with this information in addition to a performance guide on production and efficiency of their stock, whether layers, broilers or kienyeji.
Second, the farmer should never compromise on the quality of chicks for the sake of costs.Quality assessment of chicks should be done at the hatchery by observing that:They are clean, dry and free from dirt and contamination and have clear and bright eyes.The chicks are active and alert, that is, they can stand on their feet and are capable of getting up after being placed on their backs.
The navels are completely sealed since poorly closed navel is an indication of yolk sac infection which results to death.The chicks are free from any obvious deformity such as crossed beak or missing eye.The body is firm when you touch and there should be no sign of respiratory distress.The legs have no swelling, hock or skin lesion. They should be firm and have straight toes.It is also important to have the vaccination profile of the chicks from the hatchery. This includes evidence of vaccination for Mareks disease.
In most cases, the hatchery will issue a certificate of vaccination and further a vaccination guide that you are expected to continue with on your farm to ensure proper health management of your stock.Once chicks have been purchased, transportation from hatchery to the farm has to be done cautiously to reduce or eliminate mortality. Day-old chicks are very tender and must be handled with care. Mortality during transit should not be more than two per cent of the whole stock.
During transportation, consider the following:-Use a well-aerated vehicle. Transport the chicks when the weather is friendly – cool. This should be done very early in the morning or evening when the sun has set, but not between noon and 4pm.
During the transportation, go straight to the farm. Avoid unnecessary stop-overs.Before arrival, the brooder environment and equipment should be prepared three to four weeks in advance. This involves cleaning and disinfecting all equipment, brooder house and its surrounding environment. Thereafter, decide on the type of heat source that you will use.Artificial heat sources include infrared bulbs, heat lamps, electric and gas hovers, a stove and hot water radiators. Each of the heat sources works satisfactorily as long as it is set-up in a safe manner and maintains a constant temperature comfortable for the chicks.Choose litter material that helps in temperature regulation of the poultry house and is easy to manage.
Consider fresh wood shavings that are dry and clean. Ensure the wood shavings are spread out evenly (3-inch level) as an uneven litter creates uneven pockets of temperature, which may cause grouping of chicks, depriving them feed and water.Avoid saw dust as this may cause respiratory problems to the chicks while wet litter forms a conducive environment for coccidiosis. For the first week, it is good practice to put feeds on a spread out carton or newspaper to help the chicks distinguish feed from litter as well as for easy accessibility.
Remember that chicks should never be brooded on slippery surfaces as this might cause permanent leg damage.Six hours prior to the arrival of chicks on the farm, the artificial heat source should be turned on to preheat the brooder house. If the period is during the rainy season, preheat the brooder 12 hours before arrival of the day-old chicks.This will ensure that shavings are warm and the environment and air temperature is conducive for the chicks since their performance and liveliness depends on this. Temperature on arrival must be in the range of 32 to 340c.
Upon arrival at the farm house, transfer the chicks to the brooder gently to avoid damage or stress. Provide warm water that has been mixed with glucose, chick formula and liquid paraffin to give them energy and help them get off to a better start for the first three to five days. Do not feed them immediately; introduce feeds on the third day.Management in the first four weeks of the chicks’ life is by far the most valuable skill a poultry farmer must acquire because the birds are totally dependent upon you to meet their needs.
Key pointers on successful brooding management
Space requirement:
Provide brooder floor spacing of 25 chicks per square metre for layers and 20 chicks per square metre for broilers to prevent overcrowding. Ensure the brooder is corner free by using hard boards and wooden pegs to avoid piling of chicks in corners.Depending on the type of heat source being used, allow 1,000 chicks per hover or 200 chicks per infrared bulb. Provide one drinker (water fountain of three to four litres) for every 50 chicks.
Use drinkers that chicks can reach but not fall into to avoid drowning. Use chick feeders of 0.5m for every 20 chicks.Temperature regulation: Use both the thermometer and chick behaviour to guide you on regulation of temperature in the brooder house.
 Contact Jaguza Support