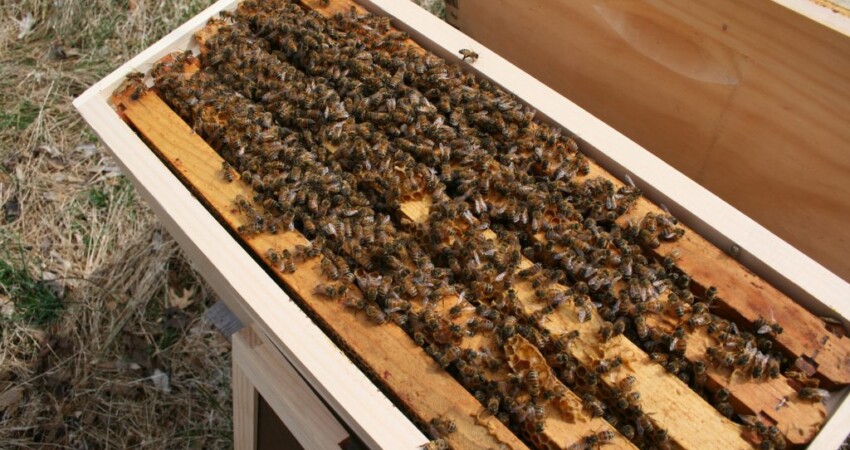

Splitting the colony is a natural part of the honeybee’s reproductive life cycle—in nature we call this action “swarming.” With increased hours in daylight, the queen bee begins to lay her eggs and grow the hive’s population. As worker (female) and drone (male) bee larvae is capped and then hatched, space within the hive becomes congested. The innate response on behalf of the honeybee is to create swarm cells that contain new queens in preparation for flight. After these queens emerge, one of these queens will win the fight to claim a large percentage of the bee population as her own. Hundreds of worker bees will gorge themselves on honey and when the time is right, pheromones are used to communicate between the workers, drones and the mother queen that it’s time to leave the mother hive behind in search of establishing new living quarters. The daughter queen stays behind with drone and worker bees and continues business as usual.
The beekeeper acknowledges this natural behavior and can choose to capitalize on the swarming event by splitting a hive colony manually before the bees swarm.
Should a beekeeper identify the major signs that the bees are ready and able to swarm, they may decide to split the hive. Whether you use a Langstroth, Flow Hive or any other hive, the following steps can be followed to ensure a successful division is formed.
1. Locate the Queen
Locate the queen from the original hive. Ensure that she does not make her way into the new hive box by temporarily caging her or by placing the frame which she is on inside the hive box surrounded by frames you do not intend to disturb.
2. Gather Brood
With your second and new hive body at hand, look for frames filled with worker and drone brood. Carefully place two to three frames of larvae into the new hive box. These bees will hatch within their new hive and help to populate the colony.
3. Collect Provisions
Select two to three frames of pollen stores and honey and move those into the new hive box with the previously placed brood frames. Be sure there is still food left behind for the original hive colony.
4. Add Frames
Replace the frames that were removed from the original hive with empty frames. The bees will draw new comb and fill with brood, pollen or honey. After releasing the queen if she was caged, close the mother hive. In addition, any remaining space in the new hive box should be filled with empty frames for the bees. As with the original hive, new frames will be constructed with fresh comb and filled.
5. Queening the New Hive
Your new hive box should hopefully contain at least one swarm cell that was formed on the brood frames of the original hive. The bees will allow this queen cell to hatch and will accept her as their new ruler. If there are no queen cells at the time of splitting, the bees will create an emergency queen cell from one of their worker bee brood cells by feeding royal jelly. A new queen can be reared in 16 days. A third option for re-queening a hive is to simply purchase a caged queen from a supplier. She and a few of her attendants will arrive in a corked cage. Replace the cork with a marshmallow and insert the cage into the new hive. By the time the worker bees chew through the candy cork, they will recognize her pheromones, release her and accept her as queen.
 Contact Jaguza Support